
Transforming an unused outbuilding, detached garage, attic, or basement into a fully functional living suite, home office, or rental unit is one of the most rewarding home improvement projects you can undertake. Converting existing square footage allows you to expand your living environment without the massive footprint expansion required by traditional additions. However, turning a storage-heavy or unfinished zone into a comfortable, code-compliant, and weather-tight living space involves far more than simply putting up drywall and laying down click-lock flooring.
Unfinished spaces were originally engineered for basic utility, vehicle storage, or structural protection—not continuous human habitation. Before framing interior walls or selecting interior finishes, homeowners must assess and upgrade the surrounding site, exterior building envelope, structural integrity, and core utility infrastructure. Attempting to skip essential site prep or structural trade work often leads to moisture intrusion, poor climate control, structural settling, and costly tear-outs down the road.
To ensure your conversion project proceeds smoothly, stays on budget, and meets local building codes, coordinating with qualified trade specialists early in the planning stage is essential. This guide outlines the key trade professionals you need to consult and hire before converting your unused space into a high-value living area.
Preparing the Site and Clearing Exterior Obstacles
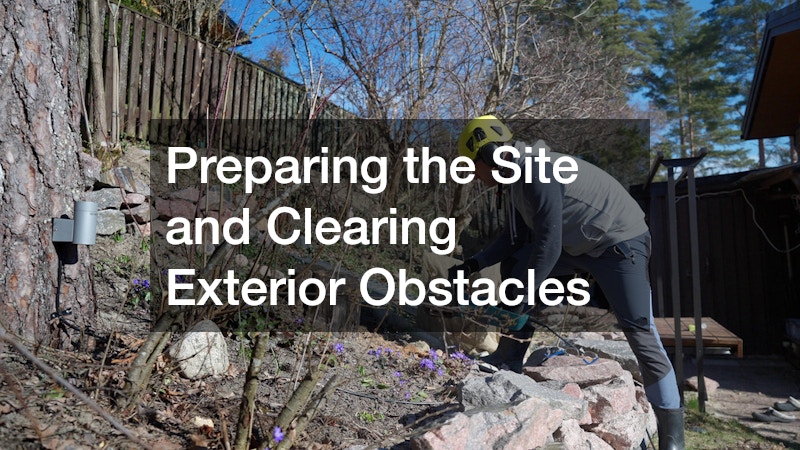
Every successful space conversion starts with a comprehensive evaluation of the surrounding ground and exterior environment. Unfinished structures, such as detached workshops or ground-level garages, often suffer from poor surface drainage, soil movement, or overhanging foliage that can compromise the building shell over time. Address these site-level challenges before committing capital to interior build-outs.
Establishing Proper Ground Leveling and Foundation Drainage
Proper site grading is the absolute foundation of a dry, healthy living conversion. When an outbuilding or garage sits directly on a concrete slab, ground water migration can quickly penetrate raw concrete floors and lower wall plates, leading to subfloor rot and mold growth under new floor coverings.
-
Conduct a thorough perimeter inspection during heavy rainfall to identify standing water or negative soil slopes directing runoff toward the foundation.
-
Call local utility locators to flag underground electric, gas, water, and fiber optic lines prior to initiating any earth-moving or excavation activities.
-
Excavate low spots around the structure, installing perforated French drain systems wrapped in geotextile fabric to channel subsurface water away from the slab.
-
Establish a minimum two percent downward slope away from the foundation perimeter over the first six feet around the building shell.
-
Ensure bare soil or mulch beds sit at least six inches below the bottom of wood framing members to protect structural plates from ground moisture.
Partnering with a local excavation company ensures that the land surrounding your conversion project is properly graded and equipped with engineered drainage solutions capable of protecting your investment for decades.
Clearing Overhanging Limbs and Managing Subterranean Tree Roots
Large trees near a conversion candidate offer valuable shade, but they also present significant risks to the structural shell, roofing system, and underground utilities. Overhanging branches drop moisture-retaining debris on roof planes, while aggressive subterranean root systems can shift foundation footings or puncture underground plumbing lines.
Engaging local tree services early in your site preparation process eliminates hazardous tree limbs and protects underground utilities from root encroachment before interior construction begins.
Restoring Exterior Shell and Managing Heavy Renovations
Once the surrounding ground is properly graded and tree hazards are mitigated, turn your attention to the building’s exterior shell. Cleaning the structure’s outer surface allows contractors to spot hidden structural defects, while proper waste management keeps the job site safe and efficient as old materials are stripped away.
Cleaning Siding and Removing Mold Before Exterior Sealing
Before adding wall insulation, vapor barriers, or interior drywall, the exterior siding must be thoroughly cleaned, inspected, and repaired. Layers of dirt, mildew, algae, and flaking paint obscure hairline fractures, wood rot, and failing caulking joints that could allow water into your new living area.
-
Pressure wash or soft wash exterior wood, vinyl, or masonry surfaces to remove environmental buildup, chalking paint, and organic growth.
-
Inspect siding panel overlaps, corner trim, and window casings for hidden rot, soft spots, or pest entry points exposed by cleaning.
-
Apply specialized biocidal treatments to eliminate deep-seated mold and mildew spores resting in micro-cracks before applying new paint or sealer.
-
Recaulk all exterior wall penetrations, window frames, and trim joints with high-grade elastomeric sealant to stop air and water infiltration.
Hiring a professional house washing company helps uncover hidden exterior rot, hairline structural cracks, and sealant failures, ensuring the outer building shell is clean and weather-tight before interior work starts.
Managing Construction Waste and Staging Conversion Materials
Space conversions generate surprisingly large volumes of construction waste during the initial tear-out phase. Old shelving, damaged insulation, non-code wiring, cracked concrete, and rotted framing materials must be systematically removed from the site to keep the workspace safe for sub-contractors.
-
Calculate the total volume and weight of demo debris to select the correct size of open-top disposal bin for your project.
-
Place protective wooden planks under heavy steel disposal containers to prevent cracking or scarring asphalt and concrete driveways.
-
Separate recyclable metals, untreated timber, and clean concrete from general construction waste to reduce environmental impact and disposal fees.
-
Establish a dedicated, dry material staging area on site to receive, organize, and store framing lumber, insulation, and drywall orders.
Utilizing container rental services provides an organized on-site waste management strategy, keeping construction zones free of tripping hazards, loose nails, and clutter throughout the demo and buildout phases.
Protecting Structural Wood and Ensuring Weatherproof Enclosures
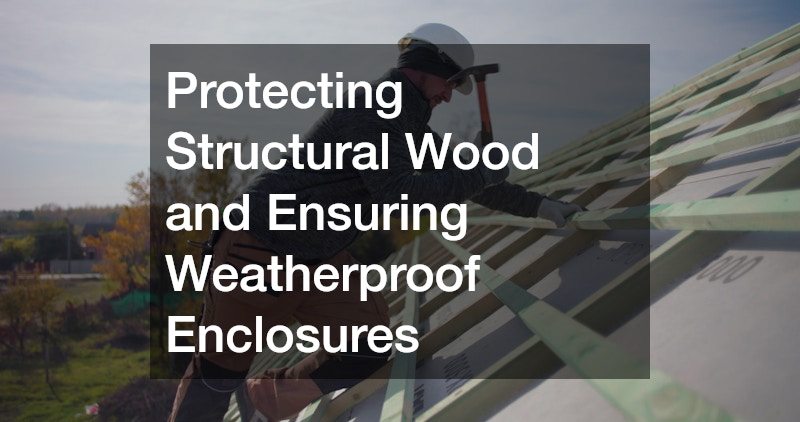
Structural integrity is non-negotiable when converting non-habitable areas into living quarters. Framing members that have been uninsulated, unheated, or exposed to damp conditions for years must be rigorously inspected for wood-destroying organisms and structural roof failures before sealing interior walls.
Auditing Framing for Hidden Wood-Destroying Organisms
Pests like subterranean termites, carpenter ants, and wood-boring beetles thrive in dark, undisturbed spaces like unfinished garages, sheds, and crawlspaces. Because framing will be permanently enclosed behind insulation and drywall, discovering an active infestation after completion can cause catastrophic financial and structural loss.
Scheduling a professional termite inspection service guarantees that structural wood framing is completely sound, dry, and insect-free before drywall or insulation conceals the interior structure.
Upgrading Overhead Cover and Sealing Structural Roof Decks
A minor roof leak over an unfinished storage shed might result in a damp concrete floor, but that same leak over a finished living space will destroy drywall ceilings, ruin insulation, warp hardwood floors, and foster dangerous mold. Ensuring absolute roof integrity is critical before installing interior finishes.
-
Inspect existing shingles or metal roofing for signs of curling, mineral loss, rusted fasteners, or compromised flashings around roof penetrations.
-
Evaluate roof deck sheathing from inside the space, checking for dark water stains, sagging plywood, or daylight penetrating rafter seams.
-
Verify that adequate attic ventilation—such as a balanced combination of ridge and soffit vents—is present to prevent moisture condensation in winter.
-
Install high-temp ice and water shield underlayment along eaves, valleys, and wall intersections when re-roofing to guard against ice dams.
Working alongside residential roofing contractors ensures your conversion project is covered by a durable, fully insulated, and weather-tight roofing system capable of withstanding heavy storms.
Optimizing Water Flow Control and Securing Perimeter Access
Managing rainwater runoff and controlling property access are two critical exterior considerations when transforming an outbuilding into a high-functioning residential space. Proper drainage protects the newly renovated structure from foundation damage, while managed access enhances daily convenience and security.
Installing High-Capacity Drainage and Downspout Systems
Roof runoff from outbuildings or garage additions must be captured and managed effectively. Missing, damaged, or undersized drainage systems allow thousands of gallons of rainwater to dump directly alongside the foundation slab, overwhelming perimeter drainage and causing damp subfloors.
-
Measure roof surface area and pitch to size continuous aluminum or copper rainwater channels capable of handling maximum localized rainfall rates.
-
Secure seamless drainage channels to fascia boards using heavy-duty hidden hangers spaced no more than twenty-four inches apart.
-
Route downspout outlets into rigid PVC underground piping that carries water at least ten to fifteen feet away from the building perimeter.
-
Install leaf guards or micro-mesh covers over gutter tops to prevent pine needles, leaves, and debris from clogging downspout drop outlets.
Engaging a local gutter company ensures that rainwater from the roof is diverted far away from concrete slabs, protecting subfloors and finished interior spaces from moisture damage.
Enhancing Site Security and Managing Entry Access Points
Converting an outbuilding into an guest suite, home business office, or rental unit often alters how people access your property. Upgrading perimeter access points provides privacy for occupants, improves overall property security, and organizes contractor deliveries during the build out.
-
Select automated access gates equipped with keypad controllers, intercoms, or mobile app integration for convenient remote access.
-
Ensure gate swing radii or sliding tracks clear existing vehicle parking spaces, walkways, and utility equipment setups.
-
Run dedicated underground electrical conduits to power gate operators, security lighting, and electronic access latches at property boundaries.
-
Coordinate gate aesthetics with existing perimeter fencing, siding materials, and architectural styles to boost curb appeal.
Installing custom driveway gate services provides security, privacy, and controlled access to your newly enhanced property, creating a distinct and welcome entryway for family, guests, or tenants.
Integrating Climate Control and Restoring Utility Appliances
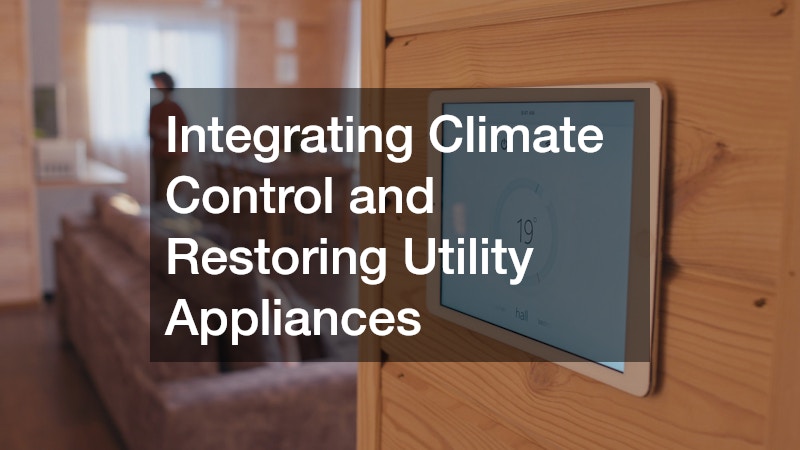
Converting an unfinished footprint into a comfortable, year-round living area requires updating internal mechanical systems. Heating, cooling, and utility appliances must be sized and installed to meet residential comfort standards and modern energy codes.
Installing Dedicated Heating and Cooling Systems
Unfinished outbuildings, garages, and attics lack connections to primary home HVAC loops. Extending existing central ductwork is often inefficient or mechanically impossible. Installing an independent, dedicated climate control system ensures optimal temperature and humidity management.
-
Calculate heat loss and gain profiles using standardized load calculations to select the exact heating and cooling capacity required.
-
Choose high-efficiency ductless mini-split heat pumps that offer zoned temperature control without requiring bulky ductwork networks.
-
Plan hidden line-set routes for refrigerant piping, electrical wiring, and condensate drain lines to maintain clean interior and exterior aesthetics.
-
Integrate smart programmable thermostats or wireless controllers to optimize energy usage when the converted space is unoccupied.
Partnering with an HVAC company guarantees that your newly converted space maintains precise year-round climate control, balanced humidity levels, and healthy indoor air quality.
Inspecting and Hooking Up Repurposed Living Appliances
If your space conversion includes a kitchenette, wet bar, compact laundry area, or secondary utility room, incorporating reliable appliances is essential for independent living. Whether installing new units or re-commissioning existing appliances, safety and proper hookups are paramount.
-
Verify that electrical panel capacity, breaker sizes, and dedicated outlets match the voltage and amperage requirements of all major appliances.
-
Check water supply valves, drain lines, and flexible gas connectors for tight seals, proper venting, and code compliance.
-
Perform multi-point mechanical checks on pre-owned or stored refrigerators, ice makers, washers, and dryers prior to permanent installation.
-
Ensure built-in microwave ovens, cooktops, and ventilation hoods are anchored securely and vented outside the living footprint.
Consulting an appliance repair company ensures that all kitchen and laundry appliances are tested, properly connected, and functioning safely within your new living space.
Finalizing Trade Coordination and Navigating Inspections

With site preparation complete, structural elements repaired, weatherproofing installed, and primary utilities rough-in ready, the final phase of your space conversion relies on effective project management, trade sequencing, and municipal sign-offs.
Structuring Trade Timelines and Sequencing Inspections
Coordinating multiple specialized trade professionals requires careful scheduling to prevent subcontractors from stepping on each other’s toes or performing work out of order. Establishing a clear project sequence keeps the timeline moving forward smoothly.
-
Complete all site grading, tree trimming, waste removal, and structural roof repairs before inviting mechanical trades onto the site.
-
Schedule rough-in plumbing, electrical wiring, and climate control installations prior to calling for mandatory mid-stage framing inspections.
-
Verify that all sub-contractors carry active state trade licenses, general liability coverage, and workers’ compensation insurance.
-
Keep a centralized digital binder containing site plans, engineering calculations, trade permits, and inspection sign-off sheets.
-
Avoid insulating or closing in stud cavities with drywall until municipal building inspectors have reviewed and approved all rough-in trades.
Conducting Final Walkthroughs and Verifying Craftsmanship
Once the interior drywall is finished, paint applied, fixtures mounted, and trim set, perform a comprehensive final walkthrough with your primary trade partners to audit the quality of work and ensure every system functions as intended.
Converting an unused space into a functional, beautiful living area is an incredible investment that adds versatility, square footage, and value to your home. By hiring qualified trade professionals to address site preparation, structural weatherproofing, and mechanical systems early in the process, you can avoid costly mistakes and enjoy a safe, comfortable, and fully compliant space conversion for years to come.